This gluten free bread recipe uses a blend of rice flour + tapioca + potato starch with psyllium husk and egg whites for structure and chew. Mix a batter-like dough, proof it once, and bake in a tall 9×5-inch pan. You’ll get a soft crumb that slices for sandwiches and toasts golden without gumminess or grit.

Table of Contents

What Makes a Great Gluten Free Bread Recipe
Traditional wheat loaves rely on gluten to trap gas, stretch, and set; without it, many GF loaves turn crumbly or gummy. The fix is to think like an engineer: we replace gluten’s elasticity with a network of psyllium gel + egg proteins (or aquafaba) + starches that expand and set. Hydration is higher than wheat doughs, and the texture before baking is closer to thick batter than kneadable dough. That’s normal—and it’s how you get a soft, sliceable crumb.
Flour Blend: Why These Ratios Work
A good GF loaf balances structure, stretch, and moisture:
- Rice flour (white): clean flavor; forms the base. Brown rice flour adds nuttiness but can feel gritty unless finely milled.
- Tapioca starch: gives chew and spring (that elastic feel you miss from gluten).
- Potato starch: holds moisture and tenderness; helps with browning.
- Psyllium husk (powdered): hydrates into a gel that mimics gluten’s network; improves sliceability and keeps crumbs tender for days.
- Egg whites: add lift and structure. For egg-free options, see the vegan swap below.
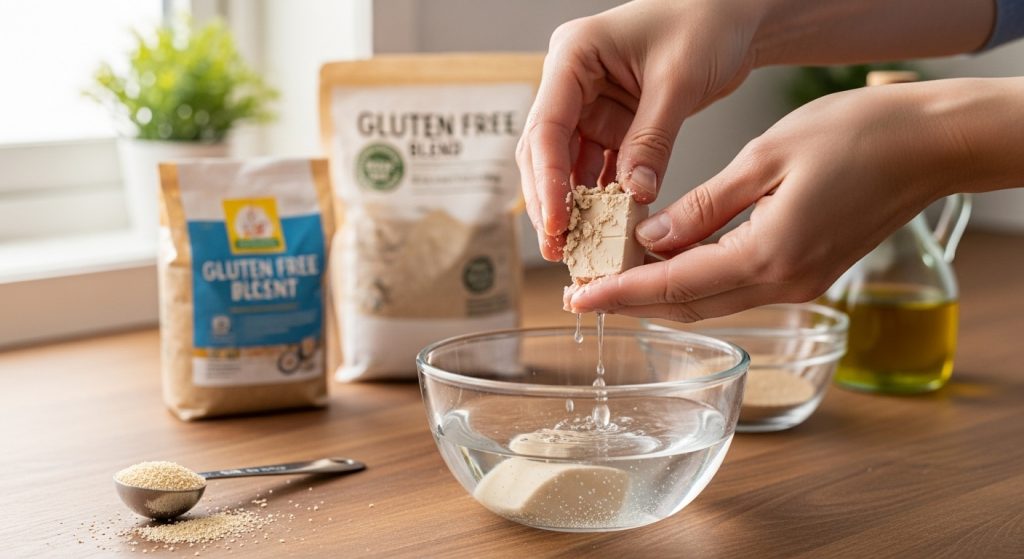
- We’ll use weights for consistency. If you must use a commercial 1:1 GF blend, pick one without bean flours for a neutral flavor and still add psyllium for structure.

Ingredients & Substitutions (by Weight)
- Dry:
- 240 g white rice flour (or 120 g white + 120 g brown rice flour)
- 80 g tapioca starch
- 60 g potato starch (not potato flour)
- 10 g psyllium husk powder (about 1½ tbsp; use powder, not whole husks)
- 10 g fine sea salt
- 25 g sugar (feeds yeast & browning; sub honey or 20 g allulose)
- Yeast & liquids:
- 8 g instant yeast (2¼ tsp) or 10 g active dry yeast (proofing step changes below)
- 360–390 g warm water (about 1½ to 1⅔ cups) at 105–115°F (40–46°C)
- 45 g neutral oil (3 tbsp; olive or avocado)
- 2 large egg whites (60 g) at room temp (save yolks for something else)
- Optional enrichments:
- 15 g milk powder for extra browning (omit for dairy‑free)
- 10 g apple cider vinegar to boost rise and crumb
- Seeds for topping: 1–2 tbsp sesame/poppy/sunflower
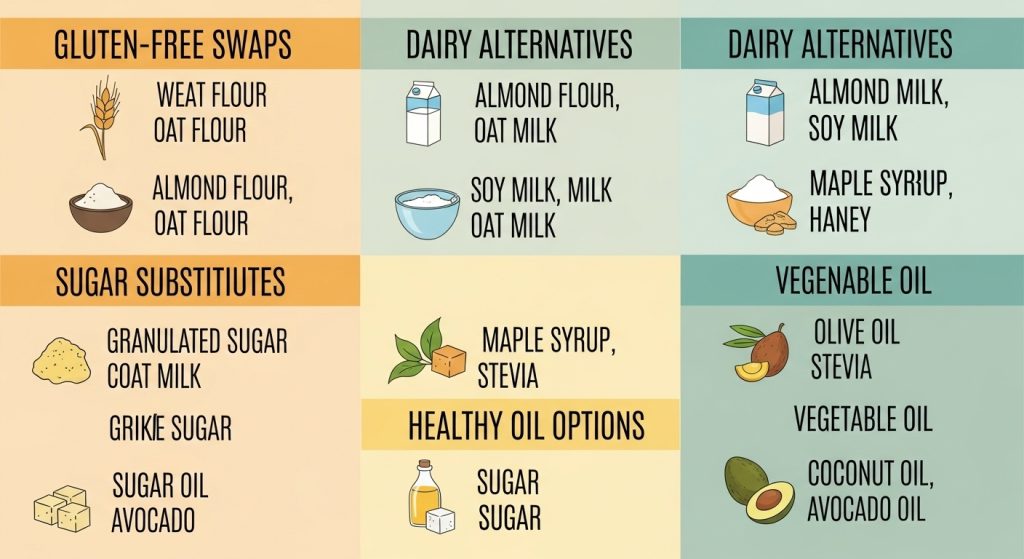
- Substitutions:
- Egg‑free/vegan: replace 2 egg whites with **150 g aquafaba** (whipped to soft peaks) + increase psyllium by 2 g; bake 5–8 minutes longer.
- No psyllium: use 8 g xanthan gum; texture will be slightly more springy and less bready.
- No potato starch: sub 60 g cornstarch; crust will be a touch crisper.
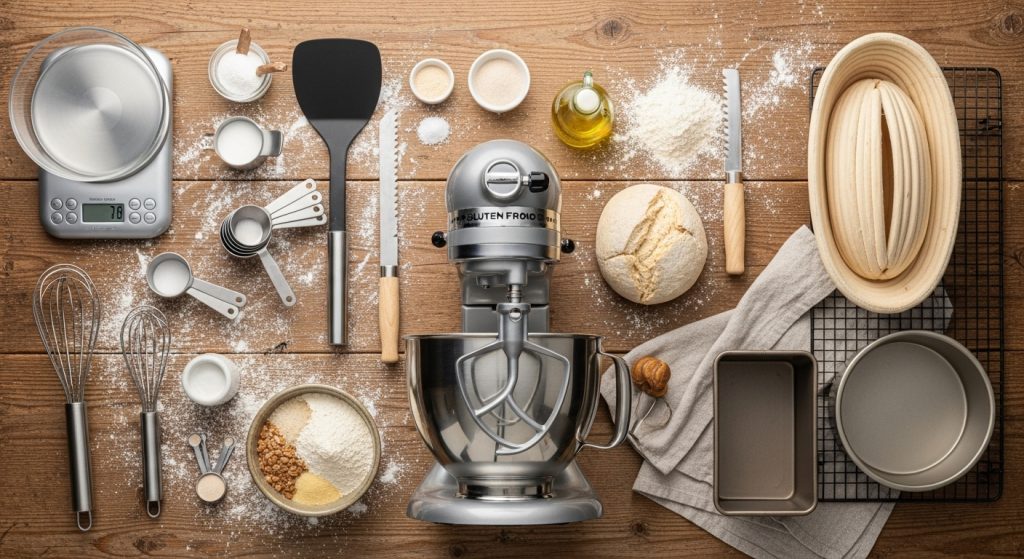
Equipment You’ll Need
- 9×5‑inch (23×13 cm) loaf pan with taller sides helps support the rise.
- Digital kitchen scale (strongly recommended)
- Stand mixer with paddle (or hand mixer + sturdy bowl)
- Instant‑read thermometer (for water and loaf doneness)
- Parchment + oil spray
- Warm place for proofing (75–85°F / 24–29°C)
Step‑by‑Step: Mix, Proof, Bake
1) Prep the pan. Line a 9×5‑inch pan with parchment, leaving overhang; lightly oil the sides.
2) Combine dry. In the mixer bowl, whisk rice flour, tapioca, potato starch, psyllium powder, salt, and sugar. If using milk powder, add now.
3) Add yeast & liquids. For instant yeast, add it directly to the dry mix. For active dry, dissolve in 60 g of the warm water with a pinch of sugar; foam 5-10 minutes, then add. Pour in remaining warm water (start with 360 g), oil, egg whites, and vinegar (if using).
4) Mix (5–6 minutes). Use the paddle on medium speed. The mixture will look like thick cake batter. After 2-3 minutes it thickens as psyllium hydrates. If it seems too stiff to spread, add 10-20 g water; if runny, sprinkle in 1-2 tbsp rice flour.
5) Pan & smooth. Scrape into the pan. Wet a spatula and smooth the top, creating a slight dome. Lightly mist with water. Sprinkle seeds if desired.
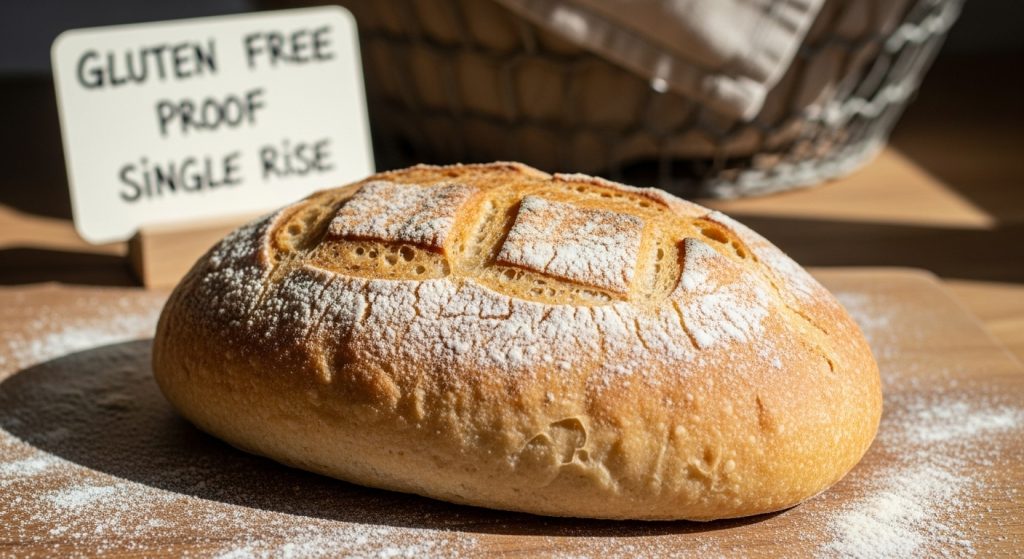
6) Proof (single rise). Cover loosely and proof in a warm spot until the dough rises about 1 inch above the pan rim and jiggles slightly when tapped, typically 35–55 minutes depending on room temperature. Do not over‑proof (it may collapse in the oven).
7) Bake. Place a rack in the lower third of the oven. Bake at 375°F (190°C) for 25 minutes, then tent loosely with foil to protect the top thermometer.
8) De‑pan & finish. Immediately lift the loaf out using the parchment and place it on a rack. Return to the oven (no pan) for 5 minutes with the heat off and the door cracked to dry the sides. This prevents a gummy edge.

9) Cool completely. Wait at least 2 hours before slicing. Gluten‑free loaves set while cooling; cutting early compresses the crumb and traps moisture.
Cooling, Slicing & Storing
- Slicing: Use a sharp serrated knife. For perfect slices, chill the fully cooled loaf 30 minutes to firm, slice, then return slices to room temp or toast.
- Storage: Wrap at room temp for 24 hours; for longer, slice and freeze with parchment between slices. Toast straight from frozen.
- Refresh: Day‑old bread toasts beautifully; for soft sandwiches, microwave a slice for 10–12 seconds before filling.
Flavor Variations (Whole‑grain, Dairy‑free, Vegan)
- Whole‑grain seed loaf: Replace 60 g white rice flour with 60 g sorghum flour; fold in 2 tbsp mixed seeds. Add 10 g extra water if needed.
- Herb‑garlic sandwich bread: Add 1 tsp garlic powder + 1 tsp dried Italian herbs; brush the top with garlic‑oil after baking.
- Oat‑blend (GF oats): Swap 40 g rice flour for 40 g oat flour (certified GF); increases tenderness and flavor.
- Dairy‑free: Recipe is naturally dairy‑free if skipping milk powder. Use avocado oil.
- Vegan: Use aquafaba swap above + 2 g extra psyllium; expect slightly less browning and add 3-5 minutes to bake.
Troubleshooting: Dense, Gummy, or Collapsed?
- Dense or short loaf: Under‑proofed, too little water, or old yeast. Aim for batter consistency; proof until 1 inch above rim. Check yeast freshness.
- Collapsed top: Over‑proofed or oven too cool. Proof to the rim + 1 inch, not more; bake on lower rack at a true 375°F (use an oven thermometer).
- Gummy center: Sliced too soon or under‑baked. Bake to 205-210°F internal and cool 2 hours. Dry sides in residual heat for 5 minutes out of the pan.
- Gritty texture: Use finely milled flours (look for “superfine”); allow 10 minutes after mixing so psyllium hydrates fully.
- Poor rise: Batter too stiff (add 10-20 g water), or psyllium measured as whole husks instead of powder (powder binds better).
Nutrition (per 1 slice)
Approximate for 16 slices: 150-170 kcal • 3-4 g protein • 3-4 g fat • 30-32 g carbs • 2-3 g fiber • sodium varies with salt.
Using sorghum/oat increases fiber; allulose lowers available carbs slightly. Values depend on brands calculate using your exact ingredients.

FAQs:-
-
Can I use a store‑bought 1:1 blend?
Yes, choose a blend of rice, tapioca, and potato (no bean flours) and still add 7-10 g of psyllium. You may need 10-20 g less water.
-
Do I need xanthan gum if I use psyllium?
No; psyllium replaces gums here. If you prefer xanthan, use 8 g and omit psyllium.
-
Why is the dough like batter?
GF bread is a high‑hydration batter to allow starches to gelatinize and set without gluten. That’s how you get a soft slice.
-
Can I bake in a bread machine?
Many GF settings work. Mix the ingredients separately, then add them to the machine. Skip the kneading cycles and bake once the dough has risen completely.
-
How do I get a darker crust?
Brush with oil or milk before baking; use milk powder; finish 3-5 minutes out of the pan to dry the sides.